


Seed starting is the spark that ignites a thriving garden, but it’s not without challenges. As Patricia Poltera, I’ve spent years perfecting seed starting, learning from setbacks, and finding products that make all the difference. Whether you’re battling common seed starting problems like seeds that won’t sprout or seedlings that collapse, this guide offers practical solutions and expert-recommended tools. Let’s troubleshoot to grow strong, healthy plants!
Meta Description: Troubleshoot common seed starting problems like germination issues, damping off, and leggy seedlings with expert tips and products. Grow thriving plants! (147 characters)
Why a Strong Seed Start Fuels Garden Success
Seed starting lays the foundation for a bountiful harvest. Healthy seedlings grow into robust plants, while weak ones struggle to survive. By addressing seed starting problems early, you set your garden up for success.
Whether you’re a novice or a seasoned gardener, mastering seed starting is key. Let’s explore the hurdles you might face and how to overcome them.
Common Seed Starting Challenges Gardeners Face
Seed starting isn’t always smooth. Seeds may fail to germinate, seedlings might topple, or pests could attack. These issues often stem from light, moisture, or soil conditions.
With the right strategies, you can diagnose and fix these problems. Here’s how to tackle the six most frequent seed starting issues.
Seeds Not Sprouting? Fix Germination Problems
Few things are as disheartening as seeds that won’t sprout. If you’re facing germination issues, here’s how to troubleshoot.

Optimize Soil Conditions for Germination
Seeds need a perfect environment to thrive. Most require soil temperatures of 70-75°F, though peppers prefer 80-85°F. A seedling heat mat with a thermostat ensures consistent warmth.
Moisture is equally critical. Keep soil moist but not soggy, like a wrung-out sponge. Use a humidity dome to retain moisture, removing it once sprouts appear to prevent mold.
Check Seed Viability
Seeds lose viability over time. Lettuce seeds last 1-2 years, while tomato seeds can remain viable for up to 5 years if stored properly. Test viability by placing 10 seeds on a damp paper towel in a sealed bag and checking for sprouts after a week.
If fewer than 7 germinate, replace old seeds. Store seeds in a cool, dry place in airtight containers.
Break Through Hard Seed Coats
Some seeds, like morning glories, have tough coats that block water. Scarification—nicking or sanding the coat—can help. Soak seeds for 12-24 hours after.
For seeds like native perennials, cold stratification mimics winter. Place them in moist vermiculite in the fridge for 4-8 weeks before planting.
Recommended Products:
- Espoma Organic Seed Starting Mix: Lightweight and well-draining.
- Vivosun Seedling Heat Mat: Maintains ideal soil temperatures.
- Clear Plastic Humidity Domes: Keeps moisture consistent.
Image Alt Text: Seedling heat mat warming seed tray for germination.
Seedlings Falling Over? Combat Damping Off
Your seedlings sprout, then collapse at the base. This is damping off, a fungal disease that devastates young plants.
What Causes Damping Off?
Damping off, caused by fungi like Pythium, thrives in wet, poorly ventilated conditions. Overwatering, crowded trays, or unsterilized soil are common triggers. Once it strikes, recovery is rare, so prevention is key.

Prevent Damping Off with Best Practices
Use a sterile seed starting mix—avoid garden soil or old potting mix. Sterilize trays with a 10% bleach solution, rinsing well. Space seeds to reduce crowding.
Improve airflow with a small oscillating fan. Water from the bottom using water-filled saucers to keep stems dry. Sprinkle sphagnum peat moss on soil to absorb excess moisture.
Products to Fight Damping Off
Natural solutions can help. Water with cooled chamomile tea for its antifungal properties. For severe cases, Actinovate, an organic fungicide, is effective.
Recommended Products:
- FoxFarm Light Warrior Seed Starting Mix: Sterile and airy.
- Vivosun Oscillating Clip-On Fan: Boosts air circulation.
- Actinovate Biological Fungicide: Organic fungal control.
Image Alt Text: Oscillating fan improving airflow over seedling tray.
Internal Link Opportunity: Link to “Organic Gardening Tips for Beginners” in the prevention section.
Leggy Seedlings? Address Light and Temperature Issues
Spindly, toppling seedlings are “leggy,” signaling they’re stretching for light. Here’s how to fix it.
Ensure Adequate Light for Seedlings
Seedlings need 12-16 hours of bright light daily. Windowsills often fall short in early spring. Grow lights provide the intensity needed for compact growth.
Choose Effective Grow Lights
Full-spectrum LED grow lights mimic sunlight and save energy. Position them 2-4 inches above seedlings, adjusting as plants grow. Use a timer for consistent light cycles.

If seedlings are leggy, move lights closer and bury stems deeper during transplanting to strengthen roots.
Adjust Temperature for Stronger Seedlings
High temperatures worsen legginess. Maintain 65-70°F during the day, slightly cooler at night. Turn off heat mats after germination to avoid overheating.
Recommended Products:
- Spider Farmer SF1000 LED Grow Light: Full-spectrum and adjustable.
- BN-Link Digital Timer: Automates light schedules.
- Burpee Seed Starting Tray: Includes a light-retaining lid.
Image Alt Text: Full-spectrum LED grow light illuminating seedling tray.
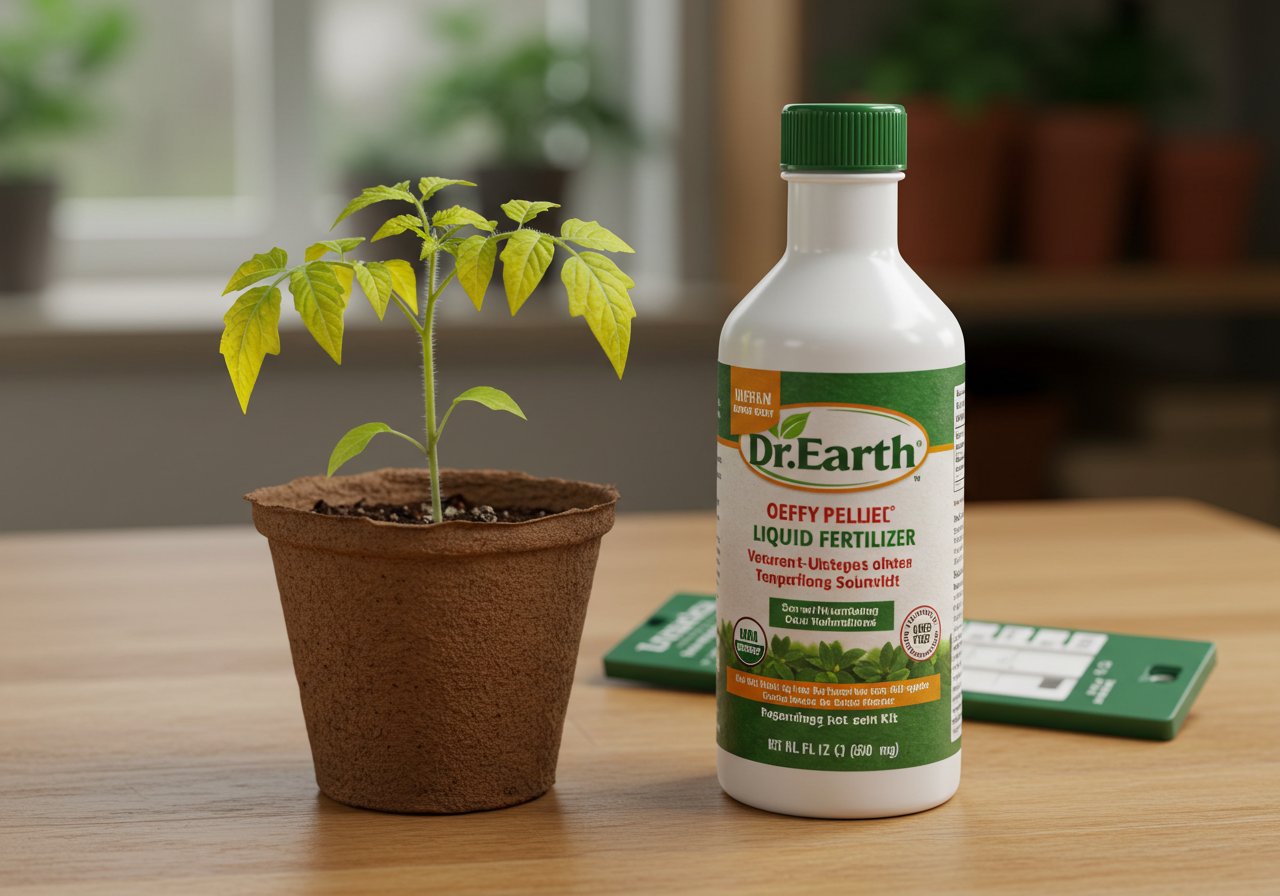
Yellowing Leaves? Correct Nutrient Deficiencies
Yellowing leaves often indicate nutrient deficiencies or care issues. Let’s diagnose and fix them.
When Seed Starting Mix Lacks Nutrients
Seed starting mixes are low in nutrients to protect delicate roots. Once true leaves appear, seedlings need feeding. Yellow older leaves suggest nitrogen deficiency, while purple tinges indicate phosphorus issues.
Feed Seedlings Gently
Use a half-strength organic liquid fertilizer, like fish emulsion, every 10-14 days after true leaves form. Overfeeding causes nutrient toxicity, so follow label instructions. Test soil pH with a soil test kit—aim for 6.0-7.0.
Identify Specific Nutrient Problems
Nitrogen deficiency affects older leaves; iron deficiency hits newer growth. Amend with compost for balanced nutrients. Overwatering can mimic deficiencies, so ensure proper drainage.
Recommended Products:
- Dr. Earth Organic Liquid Fertilizer: Safe for young plants.
- Luster Leaf Rapitest Soil Test Kit: Monitors pH and nutrients.
- Jiffy Peat Pellets: Well-draining starting medium.
Image Alt Text: Seedling with yellowing leaves in peat pellet tray.
Internal Link Opportunity: Link to “How to Fertilize Your Garden Organically” in the feeding section.
Pesky Pests? Protect Your Seedlings
Tiny pests like fungus gnats and aphids love vulnerable seedlings. Here’s how to fight back organically.
Common Seedling Pests
Fungus gnats thrive in moist soil, their larvae damaging roots. Aphids suck sap, causing curled leaves. Spider mites leave stippled, yellowing leaves and webs. Inspect plants daily, checking under leaves and around stems.
Organic Pest Control Methods
Sprinkle cinnamon or diatomaceous earth on soil to deter fungus gnats. Wash aphids off with a mild insecticidal soap solution. Use neem oil sparingly for spider mites.
Yellow sticky traps catch adult gnats and whiteflies. Maintain good hygiene by removing plant debris.
Handle Specific Infestations
Isolate affected plants to prevent pest spread. For severe cases, prune damaged leaves and treat with Safer Brand Insect Killing Soap. Regular monitoring keeps pests in check.
Recommended Products:
- Safer Brand Insect Killing Soap: Safe for organic gardening.
- Gnatrol WDG Biological Larvicide: Targets fungus gnat larvae.
- Bonide Neem Oil: Multi-purpose pest control.
Image Alt Text: Yellow sticky trap near seedling tray for pest control.
Overwatering or Underwatering? Find the Balance
Watering is a delicate balance—too much or too little can harm seedlings.
Strike the Right Moisture Balance
Overwatering suffocates roots, causing wilting or damping off. Underwatering leads to drooping, dry leaves. Aim for soil that’s consistently moist but not waterlogged.
Check the top inch of soil; water when it feels dry. Proper drainage is essential.
Master Proper Watering Techniques
Water gently with a spray bottle or a watering can with a fine rose to avoid disturbing roots. Bottom-watering is ideal—place trays in a shallow water bath for 20 minutes, then drain excess.
Ensure containers have drainage holes to prevent soggy soil.
Tools to Monitor Soil Moisture
A soil moisture meter eliminates guesswork, showing when soil needs water. A self-watering seed tray maintains consistent moisture without overwatering.
Recommended Products:
- XLUX Soil Moisture Meter: Reliable and easy to use.
- Gardman Self-Watering Seed Tray: Regulates moisture automatically.
- Haws Watering Can with Fine Rose: Gentle on seedlings.
Image Alt Text: Soil moisture meter in seedling tray.
General Tips for Seed Starting Success
A few best practices ensure healthy seedlings beyond troubleshooting.
Choose the Right Seed Starting Mix
Use a sterile, well-draining seed starting mix like Black Gold Seedling Mix. It’s lightweight and minimizes disease risk. Avoid heavy potting soils or garden dirt.
Use Proper Containers and Drainage
Opt for seed trays or biodegradable peat pots with drainage holes. Clean and sterilize trays before use. Larger cells prevent root-bound seedlings.
Harden Off Seedlings for Outdoor Success
Gradually acclimate seedlings to outdoor conditions over 7-10 days. Start with a few hours in shade, increasing sun and wind exposure daily. This prevents transplant shock.
Frequently Asked Questions About Seed Starting
Why do my seedlings keep dying?
Damping off, overwatering, or insufficient light are common causes. Use sterile soil, water carefully, and provide 12-16 hours of bright light.
How often should I water seedlings?
Water when the top inch of soil feels dry. Bottom-watering or using a spray bottle prevents overwatering.
Can I reuse old seed starting mix?
It’s risky—old mix may harbor fungi or pests. Use fresh, sterile mix for best results.
When should I start fertilizing seedlings?
Begin with half-strength fertilizer once true leaves appear, typically 2-3 weeks after germination.
Grow with Confidence: Overcome Seed Starting Setbacks
Seed starting is a journey, and setbacks are part of the process. Each challenge teaches you more about your garden. With the right techniques—sterile soil, proper lighting, balanced watering—and trusty products, you can nurture thriving seedlings.
Ready to sow your seeds? Share your seed starting tips or questions in the comments—I’d love to hear from you!
